Windows2000 and Millennium Places bar information here
Office 2000 users information here
In Office 2000, you needed to either edit the registry or use a utility to change the places bar and could not do it on the fly. The places bar was limited to no more than ten entries. With Office XP or Office 2003, it's easy to add new places right from the File | Open or File | Save dialog and you can have more than ten.

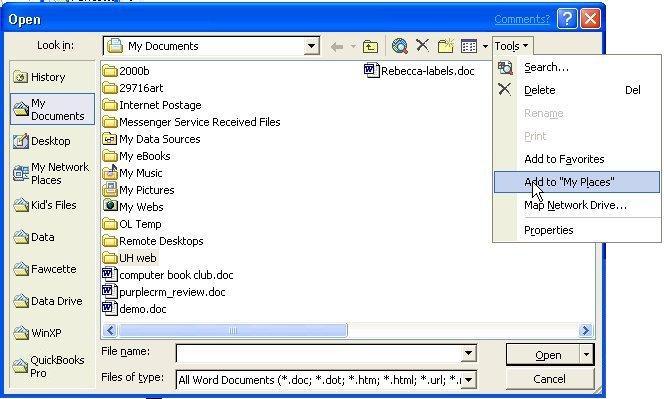
Browse to the folder you want added to the Places Bar and select it. Click on the Tools menu and choose Add to "My Places The folder is on on your places menu
Removing places from the bar is just as easy, right click on the icon you want to remove and choose Remove. You can rename or switch between large and small icons using this menu also.
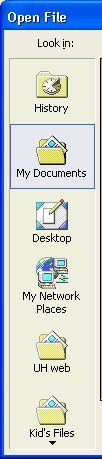
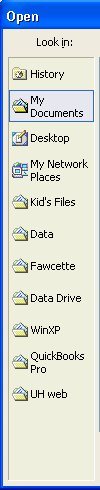
If you have more icons than will fit on the bar, a small arrow appears to indicate there are more icons and you can scroll up or down the list. If scrolling isn't your cup of tea, you can resize the dialog window to show more, made easier if you switch to small icons.
I exported the registry keys for my places bar and can restore it quickly. This saves rebuilding all my custom locations if I need to reformat and reinstall.
The registry key for Office XP (2002) can be found at:
HKEY_CURRENT_USER\Software\Microsoft\Office\10.0\Common\Open Find\Places\UserDefinedPlaces
Office 2003's are at
HKEY_CURRENT_USER\Software\Microsoft\Office\11.0\Common\Open Find\Places\UserDefinedPlaces
Folders that I need to use for a project and will remove them when the project is completed are added and removed using the Tools menu.
You cannot delete the default places but you can hide them by editing the registry.
Close all open Office programs then go to Start menu, Run, type regedit and click OK to open the registry editor. (Windows key + R will open the Run command if its not on the Start menu).
Browse to the following key then add a new value called Show, setting it's data value to 0.
In Office 2003:
HKEY_CURRENT_USER\Software\Microsoft\Office\11.0\Common\Open Find\Places\StandardPlaces
In Office XP:
HKEY_CURRENT_USER\Software\Microsoft\Office\10.0\Common\Open Find\Places\StandardPlaces
Note: At least one icon must always appears on the My Places bar. If you try to remove all the default icons on the My Places bar, the Desktop icon will remain. If you add one custom icon, you will see that custom icon instead of the Desktop icon.
More Information
For more information, see the Microsoft Knowledge Base
KB 826214: How to Customize the My Places Bar (Instructions for Office 2002, 2003 and 2007.)